
My nephew spent forty-five minutes pressing his face against the glass at the New England Aquarium, waiting for the giant Pacific octopus to emerge from its den. When it finally appeared, tentacles unfurling like a slow-motion magic trick, he grabbed my phone and took the photo of a lifetime. We both looked at the screen with enormous anticipation. The octopus looked like a melancholy gray blob floating in a swimming pool full of Windex. It was, objectively, the saddest photograph ever taken of a living creature.
Why Every Aquarium Photo Looks Wrong
Here is a fun fact that nobody tells you before you visit an aquarium: water absorbs red and orange wavelengths of light at an almost vindictive rate. The deeper the water, the more it strips warm colors away. Even in a tank that is only a few feet deep, the combination of thick glass, artificial lighting calibrated for the fish (not your camera), and all that water between you and your subject creates a color cast that makes everything look like it was filmed through a used fish tank filter.
Your camera's auto white balance does its best, bless its digital heart. But auto white balance is essentially guessing, and when the entire scene is bathed in cold blue-green light, it gives up and says "sure, I guess the world is just blue now." The result is that every vibrant orange clownfish, every red starfish, every candy-colored sea anemone comes out looking like a photo taken on the surface of Neptune.
The same problem plagues zoo reptile houses (lit with UV bulbs that make everything look like a blacklight poster), butterfly conservatories (the warm yellow glow turns white wings a sickly cream), and natural history museum dioramas (where the ambient light is roughly equivalent to a single candle in a football stadium). Any time you are photographing inside a specialized environment with non-standard lighting, your camera is essentially flying blind.
The Manual Fix That Actually Works
Professional photographers working in aquariums carry custom white balance cards and shoot in RAW format so they can wrestle the color back in post-processing. The rest of us took a JPEG with our phones while a four-year-old bumped our elbow, and we have to work with what we have.
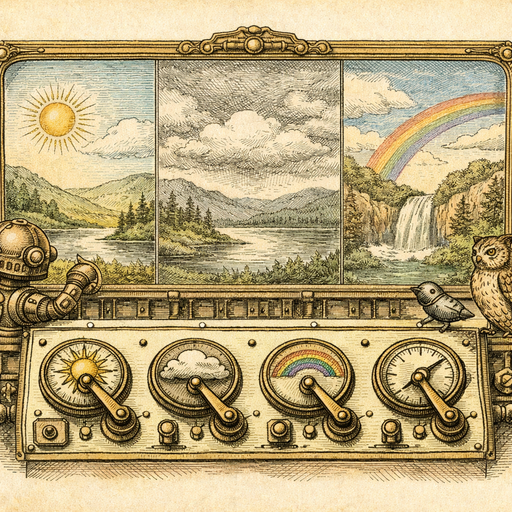
This is where manual color controls become genuinely useful. The Image Adjust tool gives you direct control over the five sliders that actually fix aquarium photos: brightness, contrast, saturation, hue, and temperature. There is no AI making decisions for you, no mysterious "enhance" button that boosts the wrong thing. You are the one turning the dials, which means you can target the exact problems that aquarium light creates.
Everything processes directly in your browser, by the way. Your octopus photo never leaves your device, which is genuinely reassuring when you remember that some online editors upload your images to servers you have never heard of in countries with interesting privacy laws.
The Aquarium Adjustment Recipe
After fixing approximately one hundred aquarium photos for various relatives who refuse to accept that their phone cameras have limitations, here is the sequence that reliably works:
- Temperature first. Drag the temperature slider toward warm. Aquarium shots are almost always too cold. You are adding back the orange-red wavelengths that the water ate. Start with a significant shift, more than feels comfortable, because you will dial it back.
- Hue adjustment. Once the temperature is warmer, the image often picks up a slightly magenta tone. A small nudge of hue toward green corrects this without making the fish look like they have motion sickness.
- Brightness up, contrast up. Aquarium glass is thick and often slightly scratched, and artificial tank lighting creates flat, even illumination with no natural shadows. Bumping contrast gives your subjects some dimension. Think of it as putting the fish back in a three-dimensional world instead of a backlit poster.
- Saturation last. After you have fixed the temperature and contrast, the colors will still look slightly desaturated. A moderate boost of saturation brings back the vivid reds and oranges. Do not overdo this step or the fish will look like they are made of neon paint.
The Same Problem in Different Disguises
The aquarium color cast is just the most extreme version of a problem that shows up everywhere. Office fluorescent lighting turns skin tones a faint green-gray. Candlelit restaurant photos go aggressively orange. Overcast outdoor shots lose all their warmth and look vaguely sad. Sunset photos taken on phones often blow out toward pink and lose the gold entirely.
In each case, the fix is the same: temperature and hue handle the color cast, brightness and contrast handle the flatness, saturation brings back what got lost. The manual adjustment tool works for all of them because it does not assume it knows better than you what the image should look like. You were there. You know what color that octopus actually was.
If your aquarium photo has deeper problems beyond color, like blur from the glass or grain from pushing the ISO, the Denoise tool handles grain well and the Sharpen tool can rescue some of that lost crispness from shooting through thick glass. But fix the color first. Everything else is easier to judge once the image is the right temperature.
A Brief Defense of Manual Controls
There is a school of thought that says AI auto-enhancement has made manual sliders obsolete. This school of thought has clearly never tried to get an AI to correctly interpret a photo where the entire scene is intentionally lit with specialized non-standard lighting. Auto-enhancement looks at an aquarium photo and thinks the problem is just underexposure, so it brightens the whole thing and now you have a very bright photo that is still the wrong color. Manual controls let you tell the software exactly what the problem is, which is efficient and also deeply satisfying in the way that fixing something yourself always is.
My nephew, for the record, now keeps a copy of that octopus photo on his phone with the corrected version. It turned out the octopus was a rich red-brown with orange highlights, which is considerably more impressive than the gray Windex ghost that the camera originally captured. The octopus deserved better, and now it has it.
Conclusion
Aquarium photos fail for a predictable, fixable reason: water strips warm light, artificial tank lighting makes it worse, and your camera's auto white balance cannot compensate. The solution is a deliberate sequence of manual adjustments starting with temperature, moving through hue, then contrast, then saturation. The Adjust tool puts all five controls in one place and keeps your photos on your device the entire time. Next time you spend forty-five minutes waiting for an octopus to cooperate, the resulting photo should actually look like the thing you saw, not a scene from a low-budget underwater horror film.
Try it yourself
Free, private, runs in your browser. No sign-up required.